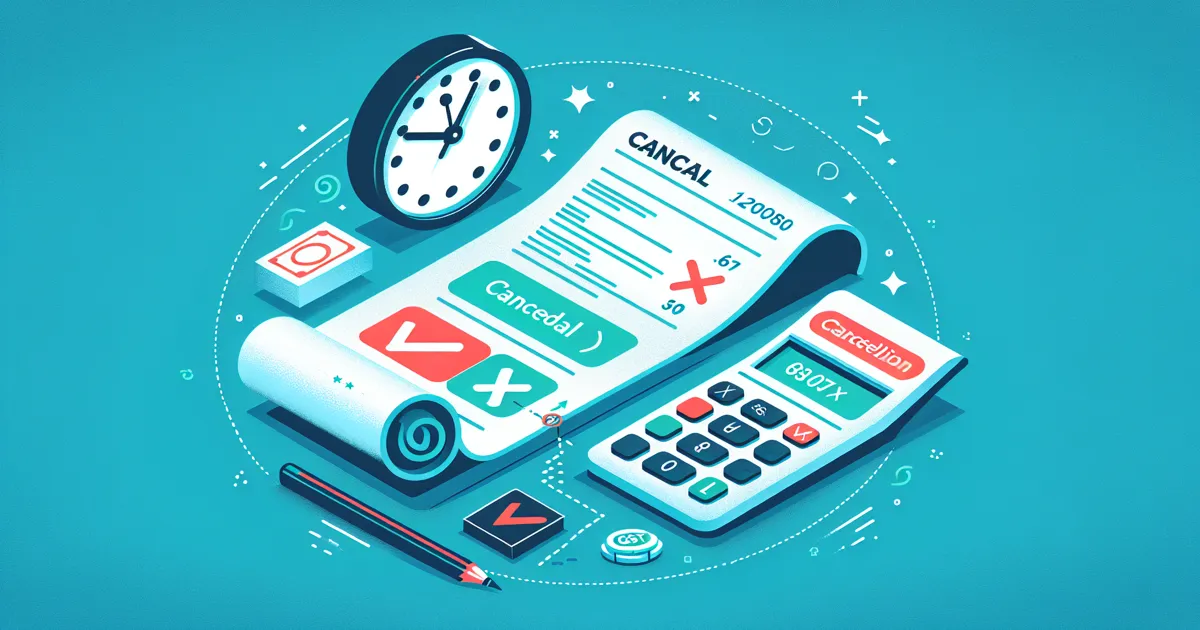
Sometimes after generating an e-invoice in TallyPrime, you may need to cancel it due to errors, order cancellations, or other business reasons. Understanding the cancellation rules and process is critical because the government imposes a strict 24-hour time limit for e-invoice cancellation.
This guide explains when and how to cancel e-invoices in TallyPrime, what happens after cancellation, and the credit note alternative when the cancellation window has passed.
When You Need to Cancel an E-Invoice
Common scenarios that require e-invoice cancellation include:
- Wrong rate or amount - Incorrect pricing applied to the invoice
- Order cancellation - The buyer cancels the order after invoice generation
- Wrong party - Invoice generated against the wrong customer GSTIN
- Duplicate invoice - Same transaction invoiced twice by mistake
- Wrong items - Incorrect stock items or services listed
In all these cases, the generated IRN must be cancelled on the IRP portal before you can correct the transaction.
The 24-Hour Cancellation Rule
This is the most important rule to understand about e-invoice cancellation:
An e-invoice (IRN) must be cancelled within 24 hours of generation on the IRP portal. This is a government-mandated rule, not a TallyPrime limitation. After 24 hours, the cancellation option is permanently disabled.
The 24-hour window is calculated from the exact time of IRN generation (the Acknowledgement Date and Time returned by the IRP). If you generated an e-invoice at 2:00 PM on Monday, you have until 2:00 PM on Tuesday to cancel it.
This strict timeline makes it essential to review e-invoices promptly after generation and catch any errors early. For more on reporting timelines, see our article on the 30-day e-invoice reporting rule.
Step-by-Step Cancellation in TallyPrime
Follow these steps to cancel an e-invoice in TallyPrime:
Step 1: Open the Voucher
Navigate to the sales voucher (or credit/debit note) that has the e-invoice you want to cancel. You can find it through the Day Book, e-Invoice report, or by searching with the voucher number.
Step 2: Initiate Cancellation
With the voucher open, press Alt+Z (or Alt+X in some TallyPrime versions) to access the e-invoice options.
Step 3: Choose Cancellation Type
TallyPrime offers two cancellation options:
- Cancel e-Invoice - Cancels only the IRN on the IRP portal. The voucher remains in TallyPrime for your records
- Cancel e-Invoice & Voucher - Cancels the IRN on the portal AND deletes or cancels the voucher in TallyPrime
Step 4: Enter Cancellation Reason
Select a reason for cancellation from the available options (such as "Data Entry Mistake", "Order Cancelled", "Duplicate", or "Others"). Enter additional remarks if needed.
Step 5: Confirm Cancellation
TallyPrime sends the cancellation request to the IRP portal. Upon successful cancellation, the IRN status changes to "Cancelled" both on the portal and in TallyPrime.
What Happens After Cancellation
Once an e-invoice is successfully cancelled:
- IRN becomes invalid - The IRN is marked as cancelled on the IRP portal and can no longer be used for verification
- QR code stops working - Scanning the QR code will show the invoice as cancelled
- GSTR-1 impact - The cancelled invoice will not appear in your GSTR-1 auto-population
- Same invoice number can be reused - Since the original IRN is cancelled, you can create a new invoice with the same number
- Voucher status in TallyPrime - Depending on your choice, the voucher is either marked as cancelled or deleted entirely
After 24 Hours: The Credit Note Alternative
If the 24-hour cancellation window has passed, the only option is to issue a credit note against the original invoice:
- Create a new Credit Note voucher in TallyPrime
- Reference the original invoice number in the credit note
- Enter the same items, quantities, and amounts as the original invoice
- The credit note also requires e-invoice generation (its own IRN)
- Generate the e-invoice for the credit note
The original invoice IRN remains valid on the IRP portal, but it is effectively offset by the credit note. Both documents appear in your GST returns, netting each other out.
Undo Cancellation in TallyPrime
TallyPrime includes an "Undo Cancel" feature for cases where you accidentally cancelled an e-invoice. This feature is available only if:
- The cancellation has not yet been synced/finalized with the IRP portal
- The voucher still exists in TallyPrime
To undo a cancellation, open the cancelled voucher, press Alt+Z, and select "Undo Cancel". Note that once the cancellation is confirmed on the IRP portal, it cannot be reversed -- you would need to create a new invoice with a new IRN.
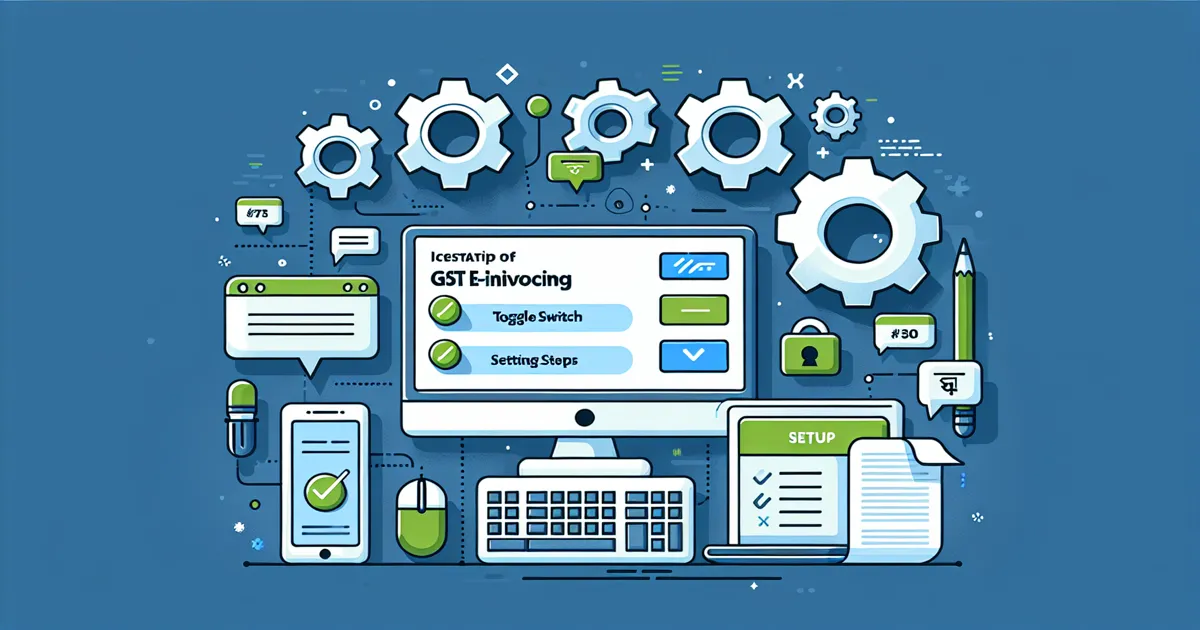
If you have not yet set up e-invoicing, start with our guide on how to enable e-invoicing in TallyPrime. For ongoing TallyPrime support, our team is available to help with all GST compliance matters.