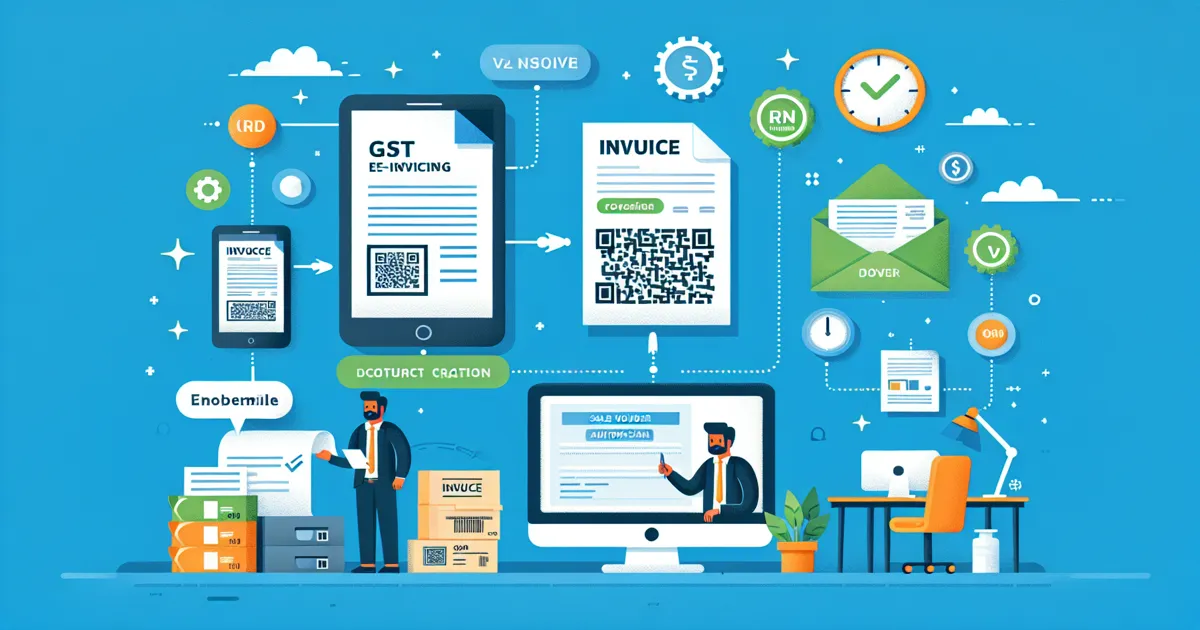
E-invoicing has become a critical part of GST compliance in India. If your business turnover exceeds the prescribed threshold, you are required to generate e-invoices for all B2B transactions. TallyPrime makes this process seamless by integrating directly with the Invoice Registration Portal (IRP), allowing you to generate e-invoices without leaving your accounting software.
This guide walks you through the complete process of enabling e-invoicing in TallyPrime, from prerequisites to testing your setup with a sandbox environment.
What is E-Invoicing?
E-invoicing (electronic invoicing) is a system introduced by the Government of India where B2B invoices are electronically authenticated by the GST Network (GSTN). When you generate an e-invoice, the invoice data is reported in real-time to the IRP (Invoice Registration Portal), which validates it and returns a unique IRN (Invoice Reference Number) along with a digitally signed QR code.
The key benefits of e-invoicing include:
- Automated GST return filing - Invoice data auto-populates in GSTR-1, reducing manual data entry
- Reduced errors - Real-time validation catches mistakes before filing
- Faster ITC claims - Recipients see invoices in their GSTR-2A/2B instantly
- Interoperability - Standardized invoice format works across all accounting systems
E-invoicing is mandatory for businesses with aggregate turnover exceeding the threshold specified by CBIC notifications. The e-Invoice eligibility checker can help you determine if your business needs to comply.
Prerequisites Before You Begin
Before enabling e-invoicing in TallyPrime, ensure you have the following in place:
- Active GST registration - Your business must be registered under GST with a valid GSTIN
- IRP portal registration - Register on the e-Invoice portal (einvoice1.gst.gov.in) using your GSTIN credentials
- API user credentials - Create an API user profile on the IRP portal through Tally (India) Pvt Ltd as GSP (GST Suvidha Provider)
- Active Tally.NET subscription (TSS) - Required for online e-invoice generation directly from TallyPrime
- TallyPrime latest release - Ensure you are running the latest version for full e-invoicing support
Good news: If you have already configured an e-Way Bill API user profile through Tally as GSP, you do not need to create a separate API user profile for e-invoicing. The same credentials work for both.
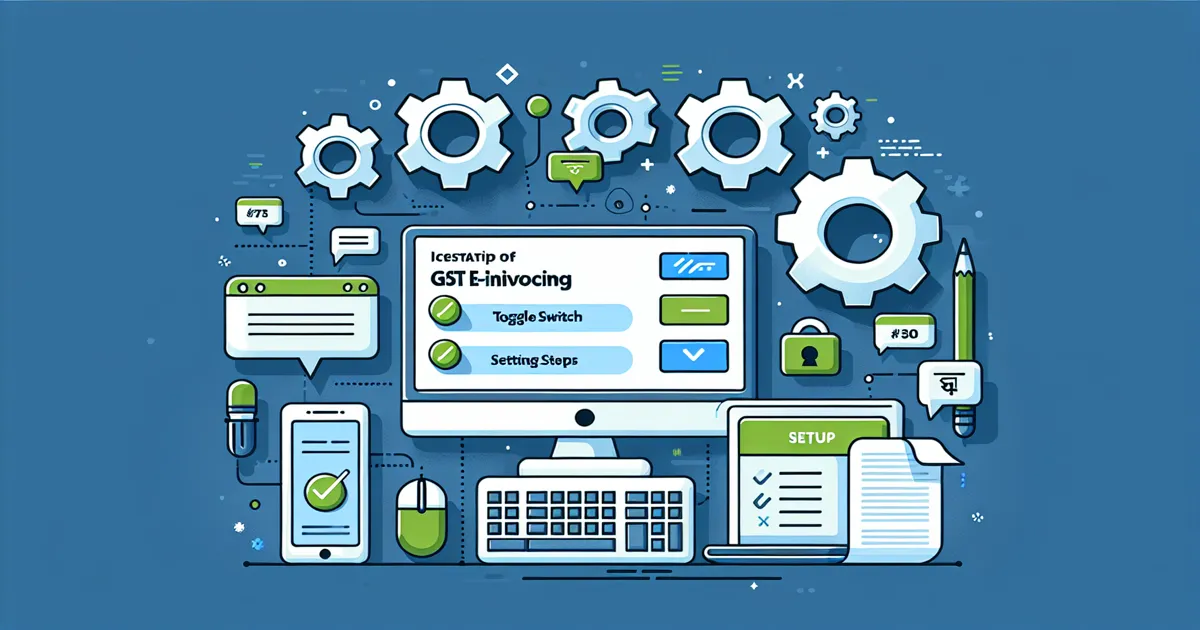
Step-by-Step Setup in TallyPrime
Follow these steps to enable e-invoicing in your TallyPrime company:
Step 1: Open Company Features
Launch TallyPrime and open your company. From the Gateway of Tally, press F11 (Features) or navigate to Features > Statutory & Taxation.
Step 2: Enable GST
Set "Enable Goods and Services Tax (GST)" to Yes. Enter your company's GSTIN when prompted. If GST is already enabled, proceed to the next step.
Step 3: Enable E-Invoicing
Set "Enable e-Invoicing" to Yes. This activates the e-invoicing feature for your company.
Step 4: Configure API User Credentials
Enter the API user credentials that you created on the IRP portal:
- Username - The API username from IRP portal
- Password - The corresponding API password
These credentials allow TallyPrime to communicate with the IRP for generating, viewing, and cancelling e-invoices.
Step 5: Set E-Invoice Applicability Date
Enter the date from which e-invoicing is applicable for your business. All invoices from this date onward will require IRN generation. TallyPrime will prompt you to generate e-invoices for applicable vouchers created on or after this date.
Step 6: Save Configuration
Press Ctrl+A to save the settings. TallyPrime will validate your configuration and confirm that e-invoicing has been enabled.
Configuring Party Details
For e-invoicing, accurate party details are essential. TallyPrime requires the following for each party in a B2B transaction:
- Party GSTIN - Mandatory for all B2B e-invoices
- Bill To address - The registered address of the buyer
- Ship To address - The delivery address (can be different from Bill To)
When you record the first transaction with a party after enabling e-invoicing, TallyPrime will prompt you to enter these details. The information is saved in the party ledger and reused for subsequent transactions.
Ensure that the GSTIN, legal name, and address match the details registered on the GST portal to avoid validation errors during e-invoice generation.
Testing with Sandbox Mode
Before generating live e-invoices, it is advisable to test your setup using the sandbox (testing) environment. TallyPrime supports connecting to the IRP sandbox portal where you can:
- Verify that your API credentials work correctly
- Test e-invoice generation without submitting to the live IRP
- Check that invoice data is formatted correctly
- Identify and fix any configuration issues
To use sandbox mode, configure the e-invoice settings to point to the test portal. Once you have verified that everything works, switch back to the production (live) IRP portal.
After successful testing, you are ready to generate e-invoices in TallyPrime for your actual business transactions. If you ever need to void an invoice, refer to our guide on cancelling e-invoices in TallyPrime.
For more details on the 30-day e-invoice reporting rule, check our dedicated article that explains the timeline restrictions.